Zero touch work orders mean the system notices a problem, creates the maintenance ticket, assigns it, and starts the fix process — all without a person typing the first note. This removes routine checks, cuts delays, and helps teams act faster when equipment shows trouble. The idea is to move from waiting for failures to letting machines tell you what they need and when.
This article explains how ordinary sensors, simple rules and a modern maintenance system work together to make that happen. You’ll get a clear view of what zero touch work orders are, which sensors matter most, how to connect sensors to a CMMS, what benefits to expect, and practical steps to start. The goal is a straightforward guide you can use to plan a pilot or explain the idea to your team.
What are zero touch work orders?
Zero touch work orders are automated maintenance requests created by software when connected devices report a problem or show a trend that needs attention. Instead of a technician spotting an issue and opening a ticket, the sensor + logic stack detects the condition, creates the ticket in the CMMS, fills in data (asset, severity, location), and routes it to the right person. This reduces manual handoffs and speeds repairs
How this usually works in practice: a sensor sees an abnormal reading, the platform evaluates the rule or model, a work order is created and prioritized, and notifications are sent to the assigned crew — all without human data entry.
How do IoT sensors enable zero touch work orders?
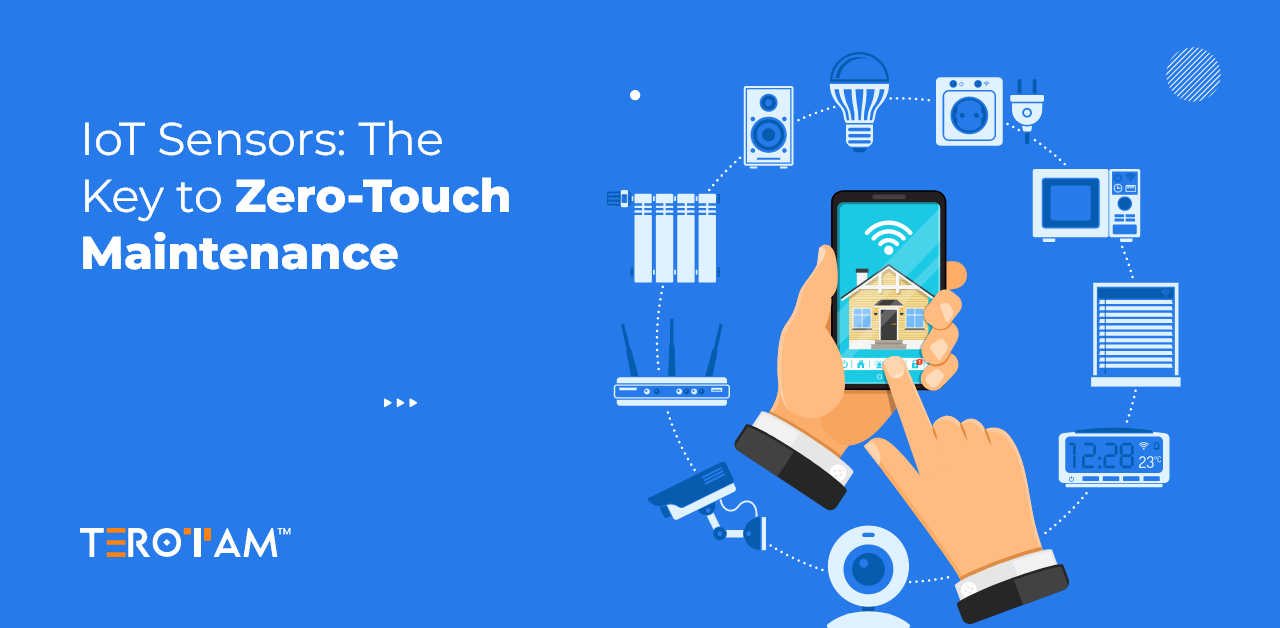
IoT sensors are the data source that triggers automation. When you combine good sensors with clear rules and system links, you get a reliable feed for automatic work orders.
- continuous condition monitoring that detects the problem early. Sensors measure temperature, vibration, pressure, humidity, current draw and more. When values cross configured thresholds or show a worsening trend, the monitoring layer flags the asset. This gives real-time triggers for automated actions.
- edge logic and anomaly detection cut false alarms. Simple thresholds work, but adding local logic or basic anomaly models at the edge reduces noise and avoids creating unnecessary tickets. Use rule windows (e.g., sustained high vibration for 10 minutes) rather than single spikes.
- automatic ticket creation with context. Sensor events are enriched with asset info, part numbers, photos or location data before a work order is created, so technicians arrive prepared. The CMMS receives the data and can auto-assign by skill, shift, or workload.
- escalation and lifecycle automation. If a ticket is not accepted or the condition worsens, the system can escalate, broaden the notification list, or add parts requests — all driven by rules you set. This keeps response timely without manual tracking.
Key sensor types and the metrics that matter
Choosing the right sensor depends on the asset and failure modes. Here are common types used for zero touch workflows and why they matter.
- Vibration sensors: detect bearings, imbalance, looseness and imminent mechanical failure. Trending rising vibration often predicts failure weeks before breakdown. Use them on motors, pumps and fans.
- Temperature sensors and thermography: pick up overheating in bearings, electrical panels, and compressors. Small continuous rises can be an early warning. Combine point temperature sensors with occasional thermal scans for better coverage.
- Current / power sensors: reveal electrical issues, motor stalls, or inefficient operation. A sustained increase in current draw often points to mechanical drag or electrical faults.
- Pressure and flow sensors: essential for pumps, chilled water loops, and process equipment. Drops or spikes in pressure frequently mean leaks, blockages, or failing valves.
- Humidity and environmental sensors: for storage rooms, HVAC systems and sensitive production areas, environmental drift can signal filter failures or HVAC faults.
- IoT-enabled cameras or acoustic sensors: used where visual or sound fingerprints detect defects that other sensors miss (e.g., surface cracks or unusual machine noise).
How to integrate sensors with your CMMS and workflows?
Integration is the bridge that turns sensor events into work orders. Plan this stage carefully — it determines how clean and useful your automated tickets will be.
- Define clear event-to-work-order rules: map each sensor event to a ticket type, priority, required skill, and parts list. Simple, well-documented mappings prevent confusion when automation scales.
- Use a middleware or IoT platform for normalization: raw sensor data often needs cleaning, aggregation, and enrichment before the CMMS can use it. A platform handles device lifecycle, security, and rule execution. Many cloud providers and vendors support zero-touch provisioning to speed device onboarding.
- Deep human-in-the-loop where it matters: automated assignment and parts ordering are low-risk. For high-risk or safety-critical work, require a quick review step before dispatch. You can still auto-create the work order and queue it for approval.
- Tag assets and keep the asset registry current: auto-generated tickets are only useful if they point to the correct asset record with history and BOM. Invest time in the initial asset mapping.
Benefits and measurable impact
When done right, the shift to sensor-driven zero touch work orders produces clear operational gains.
- less unplanned downtime and faster response: continuous monitoring catches problems earlier, so outages fall and uptime improves. Industry reports show predictive maintenance and sensor-driven workflows can cut maintenance costs and reduce downtime significantly.
- higher technician productivity: technicians spend less time inspecting and more time fixing. Automated tickets include richer context so teams plan repairs with the right parts and tools.
- lower administrative overhead: no manual ticket entry, fewer missed requests, and better SLA tracking. That saves hours each week for managers and planners.
- extended asset life and optimized spare parts inventory: fixing small issues early reduces big repairs and lets you right-size spare stock using real consumption signals rather than gut feel.
Practical implementation checklist and best practices
Start with a small, measurable pilot and expand once the system proves reliable.
- pick one use case with clear failure signals: choose an asset whose failures are costly and that has a known sensor signature (for example, a critical motor with rising vibration). Keep the pilot scope small and measurable.
- select rugged sensors and test placement: sensor location affects signal quality. Test a few placements, validate readings, and document the installation method so future units match.
- set conservative rules and iterate: start with conservative thresholds to avoid noise. Review false positives, adjust rules, and consider lightweight machine learning models as you collect data.
- plan data flow, security and device management: know how devices will be provisioned, updated, and secured. Zero-touch provisioning helps scale device onboarding without manual setup.
- validate the CMMS mapping: ensure every auto-created order links to the correct asset, contains necessary fields, and triggers parts reservations or approvals as defined.
- train staff and document the process: crews must trust automated tickets. Run joint reviews, explain rules, and create a rollback path for mistaken automation.
Common challenges and how to handle them
Automation brings new issues; plan to address them up front.
- too many false alarms: refine sensor placement, use aggregation windows, add edge filtering, or combine multiple signals before triggering a ticket.
- poor data quality or missing asset tags: fix asset registry and standardize naming so tickets are actionable. Clean historical data helps set meaningful thresholds.
- integration complexity: use middleware or an IoT platform to reduce one-off integrations. Favor open APIs and standard protocols.
- cost and ROI questions: pilot on high-impact assets first. Measure key metrics (tickets avoided, downtime reduced, tech hours saved) to justify roll-out.
Starting a pilot: a simple 6-step plan
This short plan gets you from idea to measurable pilot outcomes.
- choose an asset and define success metrics (downtime reduction, number of prevented failures).
- install 1–3 sensors and collect baseline data for 2–4 weeks.
- configure conservative rules and connect the platform to your CMMS.
- run parallel mode: create automated tickets but require manager approval for execution for the first month.
- refine rules and asset mappings based on feedback and false positives.
- switch to full auto for low-risk failures and expand to similar assets.
Conclusion
Zero touch work orders are not magic — they are a practical next step once you have reliable sensors, clear rules, and a CMMS that accepts automated inputs. Start small, measure results, and expand what works. The payoff is less firefighting, fewer administrative tasks, and a maintenance team focused on repairs that matter.
If you’d like, I can help you draft a pilot plan for a specific asset or write the event-to-work-order rules you’ll need to feed your CMMS. Looking to try out or know more? – Drop us a line at contact@terotam.com or Schedule a quick meeting with our experts.


