eProcurement has a feature to add the level of approvals to approve the RFQ by adding the assignees to make sure data is reliable and view the list of vendors in a list. Also, allows comparing the request quotations and prices.
Follow the below steps to Add Approval Levels in RFQ. Login into the eProcurement portal:
- Go to go to RFQ tab on the left side of the screen. Click the Deadline date completed RFQ tab you will find an option to view quotations under the Action column.
- Click on that Quotation Information page will open. Here you can see the list of vendors who have applied for the quotation.
- Now click on Comparison. This is a comparative report between all the vendor’s quotations to compare the price of all the vendors.
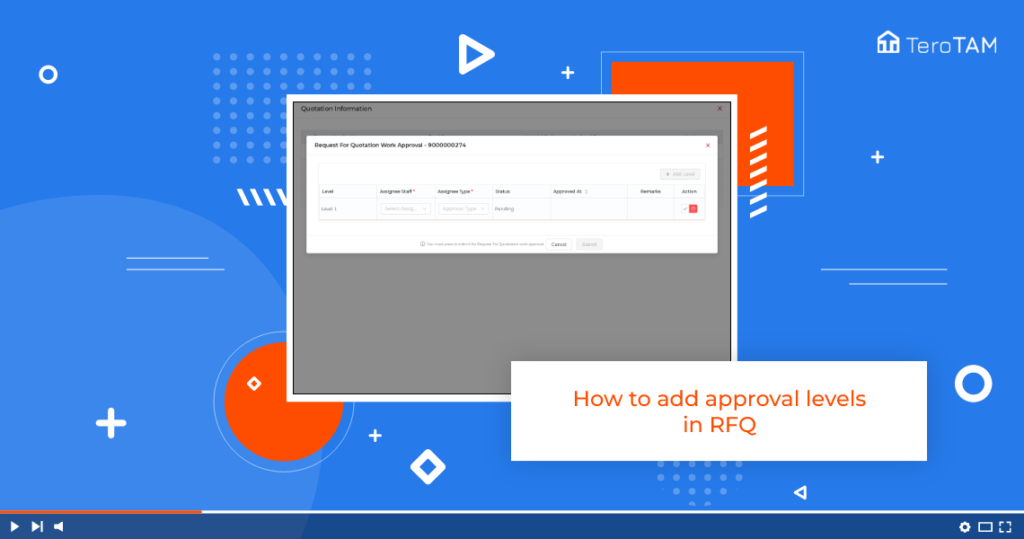
- At the bottom, you can see there are two buttons available. Now. To add the approval level, click on the Approval or Level Approval button.
- Here you have to add the approval level by clicking on Add Level and entering the user name. In assignee staff, you can add multiple approval levels.
- Select the Assignee type from the drop-down.
- Please note the final Approval level is mandatory to proceed ahead. We have added one Technical Assignee type and another one added as final approval.
- Once the level is added, click on Submit your RSF workflow assigned Successfully. You can see the approval history by clicking on the Work Approval History button.
- You can find the list of staff and the status. This is how you can add the approval levels in RFQ.