You can set the set of approvals in eProcurement tender process to secure the data and make process easier and safe. It helps to maintain clear communication and allow track status.
- Let’s start by logging into the eProcurement web Portal from Sign Menu, go to tab.
- Tender Management page will open. To add the approval levels. Click on the Tender reference number.
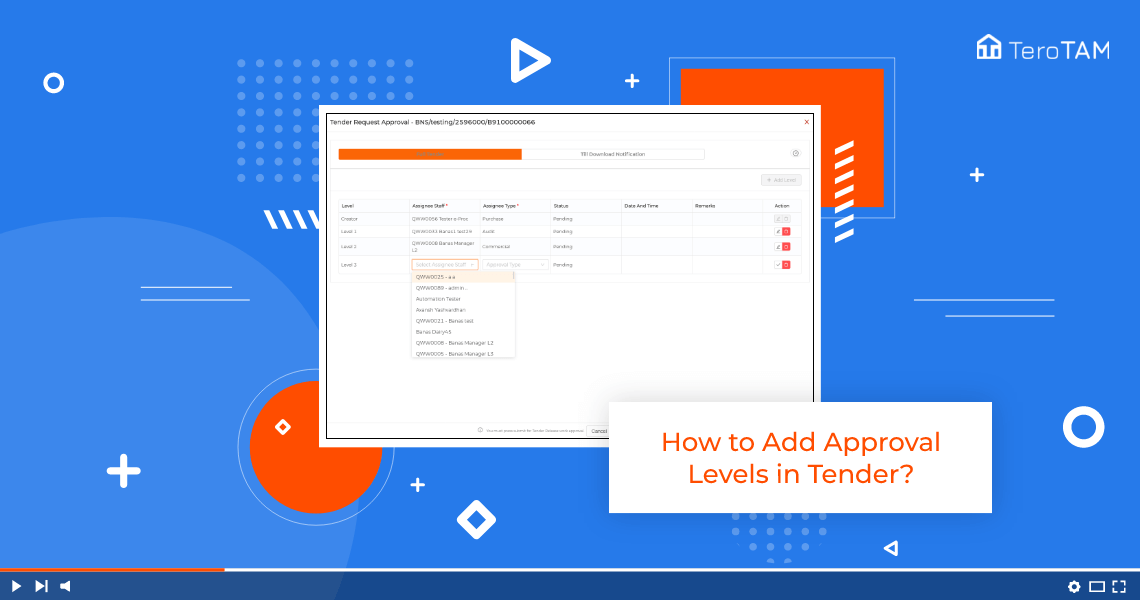
- Click on Add Level. Select the Assignee staff by entering the username.
- Select the assignee type and click on Save. Similar way, you can add multiple levels.
- Please note final Approval level is mandatory in assigning type. Once all the levels are added, click on Save approvals.
- Please note in Tender, there are two approval processes.
- This is the first one. Now let’s see the second process of approval level. Go to deadline.
- Date completed. Tab. Click on the Tender. Click on Approval or Level Approval button. Now here you can see the levels added previously.
- Now you need to add the levels again for the second approval process.
- So click on Add Level button and add the levels in the same way.
- Once done, click on Save Approvals and your tender levels has been applied successfully.
- You can find the same tender in under Approval tab.


