Using eProcurement software allows you to add invoices from the vendor portal. To add an invoice follow the below steps:
- Start by logging into the eProcurement vendor portal from the Side menu. Go to purchase order.
- Once the customer has applied the PO to the vendor, you can find the same in the Open PO tabs.
- Click on Invoices from the Action column.
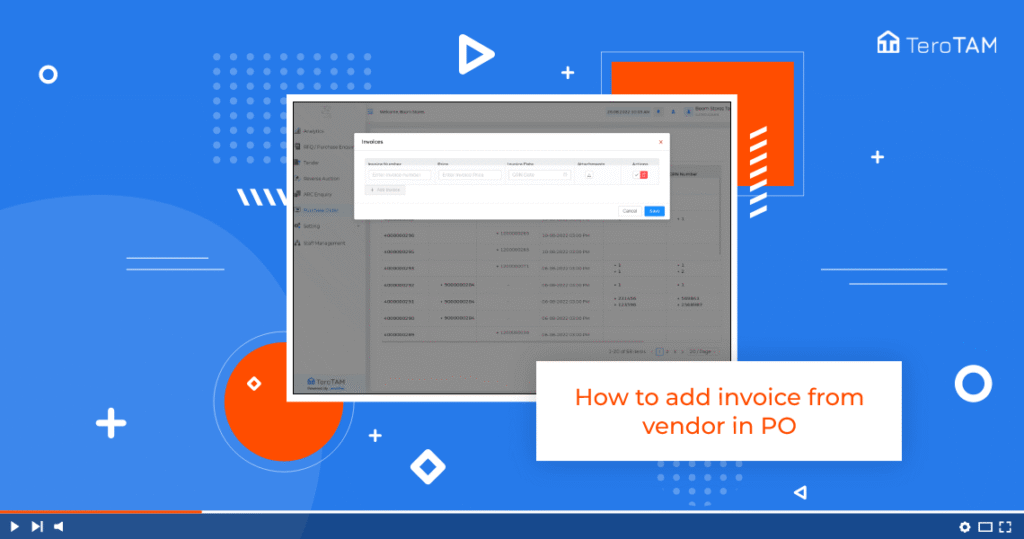
- Click on Add Invoice.
- Enter the invoice number.
- Enter the price.
- Please note the price cannot be higher than the actual PO amount.
- The actual PO price you can check from the PDFas here you can see the price is too.
- Select the invoice date. Once done, click on Save.
- Similarly, you can add multiple invoices. You can divide the PO’S actual price into multiple invoices.
- For example, here in the PDF, the price is two, so you can add two invoices, each containing one price.
- Click on Save and your invoices are updated successfully.