Using TeroTAM eProcurment software allows to creation of the tender from the customer portal with the complete details of the tender. Through this process, you can save time and money.
Follow the below steps to create a tender in eProcurements ports. Login into the portal:
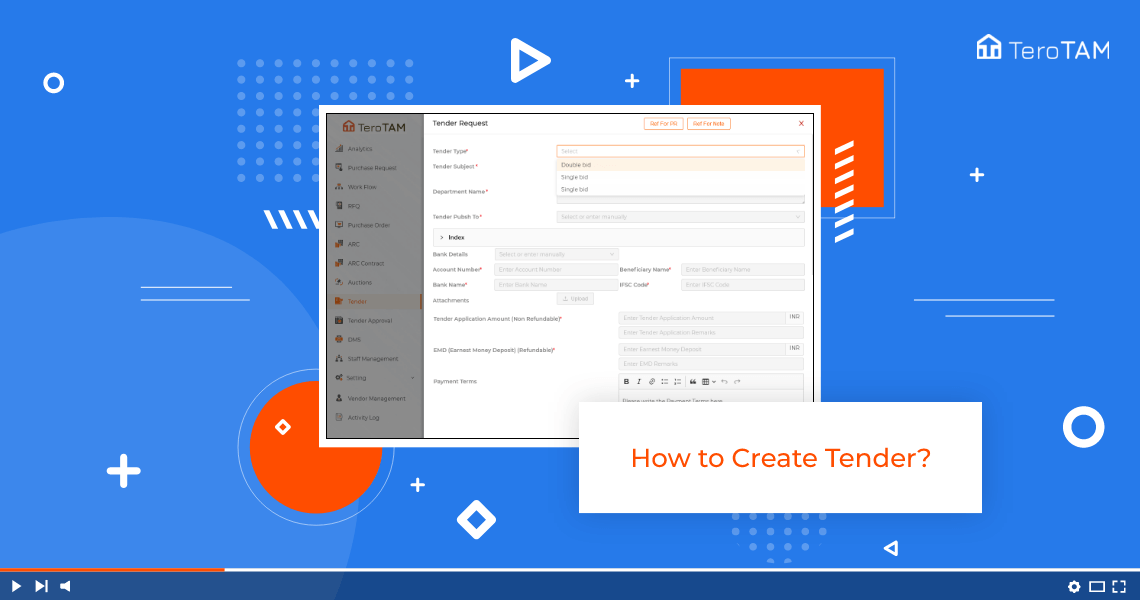
- Let’s start by logging into the eProcurement portal from the side menu. Go to tender to create a new tender, and click on Add tender button.
- The tender form will open. Here you need to fill up the data. Select the tender type. You can create the tender with the single and double bid.
- Enter the tender reference number. Enter the tender subject department name and select the tender to publish two.
- Now here you have three options from which you can select any one. The open tender will go to all the vendors.
- Once that is done, you can find the index. Here you can see the status of each field from the form which is filled and not filled.
- From here you can check that. Now enter the bank details. You can set the bank details from the settings as well as you can enter it manually.
- You can also upload the attachment if you have any. Now enter the tender application amount for vendor.
- You can also add the remarks. If you have any, enter the EMD amount.
- You can also add the instruction for the payment terms in the description box.
- Let’s scroll down. Now here you need to enter the final opener of tender bid. You can select the staff by entering the username add the notifier staff in advertisement.
- You can add the details if you have any. At the bottom, enter the name for created by this is a mandatory field.
- Once that is done, add the tender published dates. Now here you can see there are seven dates you need to add for the first date.
- Once this date is crossed, the tender will go into deadline tab. The second date is for vendors.
- Once this date is crossed, vendor cannot apply for the tender. Similarly, you can add all the dates.
- You can also add the extra dates by clicking on Add date button. Now once all the dates are added, below that you can find preface.
- Also here is an option for copy. You can copy the other tenders data in this tender.
- Now here you need to add the corresponder details. This is also optional. Once you expand this year, you need to add
- the corresponder’s personal details such as name, phone number and email.
- Once that is done, there are other fields as well. All the fields are optional.
- In this you need to add the details. If you have any kind of details for your tender here, I’m not adding any details for now, let’s proceed further with the checklist.
- From here you can add the multiple checklists for the vendor. Then vendor will click on yes or no depending on the availability of that.
- Once that is done, let’s add the next church. Here you can add as many anxious as you want.
- Please note the next church you are selecting here. You need to add the data for that as well.
- The next year you will select here. The vendor will fill the data for the same.
- Here you have to selected the three Next. Let’s add the data for commercial bid by clicking on Add commercials for Price Breakup.
- There will be no data needed because that will be filled by vendor.
- Now, once all the details are filled, click on Save Tender. As you can see, the loader here because the tender will take few seconds to create the full PDF for the detail. we have filled, this is how you can create the tender.


